
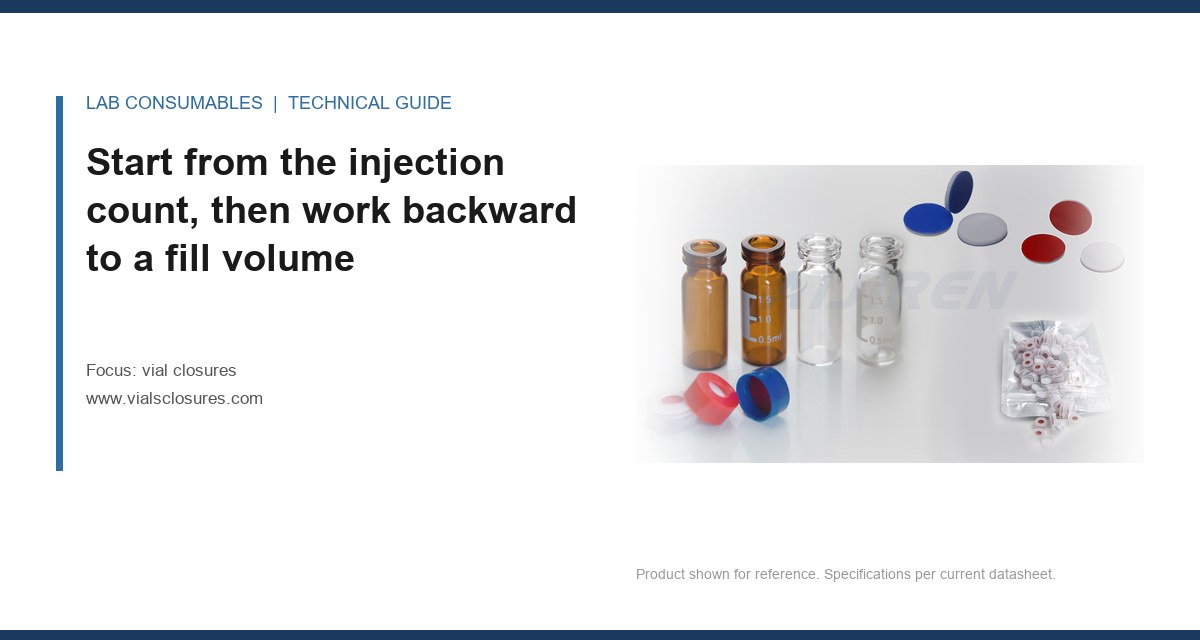
A 2 mL HPLC vial filled to 1.5 mL will run dry at about injection 340 on a 10 µL draw with a 100 µL needle hold-up, and no septum on the market fixes that. I watched a stability lab learn this the expensive way: the autosampler logged needle-in-air errors on a 72-hour run, the analyst blamed the pre-slit silicone, and the real fault was a fill volume chosen from habit rather than from the arithmetic. Sizing vial closures for a given injection count is a capacity problem first and a puncture problem second, and the two interact in ways the catalog does not tell you.
This guide covers how to pick vial closures when the governing requirement is a specific sample volume and a specific injection count. It stays on fill volume, dead volume, needle gauge, and puncture-life arithmetic. Material selection and vendor comparison live elsewhere on this site and are not repeated here.
Most labs pick a fill volume, then discover at the end of the run that they cannot get the injections they promised. Reverse it. Write down the injection count, the draw volume, the needle hold-up, and the dead volume below the needle tip, and add them.
The working formula I use:
- Required fill (µL) = (injections × draw volume) + needle hold-up + dead volume + safety margin
For a standard 2 mL, 12 × 32 mm vial on a 9 mm neck, dead volume below the needle tip at the bottom of the vial is roughly 40 to 60 µL depending on insert presence and needle depth setting. Needle hold-up in the autosampler sample loop and needle line is typically 50 to 150 µL on older LC systems and much less on modern split-loop designs. A 10 µL draw on a 100 µL hold-up system with a 50 µL dead volume and a 100 µL safety margin needs about 250 µL per injection beyond the draw itself. Fifty injections of 10 µL require roughly 750 µL of usable fill, which means a fill of 1.0 mL to 1.2 mL in a 2 mL vial.
That is the arithmetic. The complication is that the arithmetic changes with the closure. A 9 mm septum that domes into the vial reduces usable headspace. A thick septa that requires a deeper needle penetration changes the dead volume at the bottom of the vial. A pre-slit septum that vents during sampling changes the pressure inside the vial and therefore the draw precision on the last injections. If you are running 96-well plates or short-height vials, the same math applies with different numbers, and the HPLC vial geometry you selected determines what those numbers are.
Where dead volume actually comes from
Dead volume is not one number. It is the sum of the residual liquid below the lowest needle reach, the liquid held in the meniscus, and the liquid the needle cannot displace because the vial bottom is concave. On a standard 2 mL vial with a flat interior bottom, a needle set to 1 mm above the floor leaves 40 to 50 µL unreachable. On a vial with a conical interior, that number drops to 15 to 25 µL. On a vial with a rounded interior, it can climb to 80 µL.
This is why the same closure on two different vial bodies gives different usable volumes. If you are chasing a high injection count from a small fill, the vial interior profile matters as much as the septum. The closure determines the top seal; the vial body determines the bottom loss.
The 9 mm neck is a capacity constraint, not just a closure standard
A 9 mm neck on a 12 × 32 mm vial is the most common HPLC configuration in the world, and it caps what you can do. The neck bore is roughly 6.0 mm inside diameter. The septum diameter is 9 mm with a working puncture area of about 5 mm across. That working area is what you have to spread punctures across, and it is why puncture life is a geometry problem before it is a material problem.
Compare that with a 13 mm neck on a 15 × 45 mm vial: the working puncture area is roughly 8 mm across, which nearly triples the usable area. If you are running 200 injections from a single vial, the 13 mm format gives you more room to spread the needle path. The 9 mm format does not. The trade is that 13 mm vials use more rack space and more sample volume per fill.
| Neck size | Vial OD × height | Typical usable fill | Working puncture area | Realistic injections per vial (single position) |
|---|---|---|---|---|
| 9 mm | 12 × 32 mm | 0.3 to 1.5 mL | ~5 mm diameter | 20 to 100 |
| 11 mm | 12 × 32 mm | 0.5 to 1.5 mL | ~6.5 mm diameter | 40 to 150 |
| 13 mm | 15 × 45 mm | 1.0 to 3.5 mL | ~8 mm diameter | 100 to 300 |
| 20 mm | 22.5 × 75 mm | 3.0 to 10 mL | ~13 mm diameter | 200 to 500 |
Those injection ranges assume a 22-gauge needle, a single fixed needle position, and a septum rated for the count. Move the needle between injections, and the upper end rises. Keep the needle in one spot and the lower end is optimistic.
Needle gauge sets the puncture budget before the septum does
A 22-gauge needle is 0.72 mm outside diameter. A 26-gauge is 0.46 mm. A 32-gauge is 0.23 mm. Every puncture removes a plug of septum material roughly equal to the needle cross-section plus the elastic stretch zone around it. That plug is the coring risk, and the coring risk scales with the square of the diameter.
Do the arithmetic. A 22-gauge needle removes about 0.41 mm² of material per puncture. A 26-gauge removes about 0.17 mm². A 32-gauge removes about 0.04 mm². On a 5 mm working area with a 1 mm keep-out ring, you have about 12 mm² of usable septum to work with. That gives you a theoretical maximum of roughly 29,000 punctures with a 32-gauge needle and about 2,900 with a 22-gauge, before you account for elastic recovery, which recovers maybe 40 to 60 percent of the hole.
So the real puncture life is much lower than the theoretical number. A 22-gauge needle on a standard silicone/PTFE septum typically gives 50 to 100 reliable punctures before coring becomes visible on the chromatogram as a new peak or a baseline shift. A 26-gauge needle gives 100 to 200. A 32-gauge gives 300 to 500. Those are field numbers, not catalog numbers, and they assume the needle enters at 90 degrees to the septum face.
The angle and speed penalty
A needle that enters at 85 degrees instead of 90 shaves material off the side of the puncture rather than punching through it. That is coring, and it is the most common cause of a septum particle ending up in the injection. Autosamplers that draw from a fixed needle position with a slight tilt, or that use a needle that is not perfectly vertical after a service, will core a septum at half its rated life. Check needle verticality after every autosampler service. A 1 mm lateral offset at the needle tip over a 30 mm travel is enough to start the problem.
Needle speed matters too. A fast puncture on a cold septum (below about 10 °C) is more likely to core because the silicone is below its glass transition margin and does not stretch. If your autosampler tray is chilled, derate the puncture life by 30 to 40 percent.
Puncture-life arithmetic you can put on a worksheet
Here is the calculation I use when a lab asks for a closure that will survive a specific injection count. It is deliberately conservative.
- Effective puncture life = (base rating) × (gauge factor) × (temperature factor) × (angle factor) × (position factor)
- Base rating for a standard silicone/PTFE 9 mm septum: 80 punctures at 22-gauge, 25 °C, 90 degrees, single position
- Gauge factor: 22G = 1.0, 26G = 1.8, 32G = 4.0
- Temperature factor: 25 °C = 1.0, 10 °C = 0.7, 4 °C = 0.6
- Angle factor: 90 degrees = 1.0, 88 degrees = 0.7, 85 degrees = 0.4
- Position factor: single position = 1.0, 5 positions = 2.5, 20 positions = 4.0
A 26-gauge needle at 4 °C with a 2-degree tilt on a single position gives an effective life of 80 × 1.8 × 0.6 × 0.7 × 1.0 = 60 punctures. That is the number to plan against, not the catalog’s “100+”. If the method calls for 80 injections from one vial, you need a larger septum format or a needle position change, not a different material.
This is where a lot of procurement decisions go wrong. A buyer asks for “a septum that lasts 200 injections” and gets a quote for a thicker silicone. Thickness does not fix the arithmetic. Gauge, temperature, angle, and position do. The chromatography consumables catalog will list a puncture rating, but it will not list the conditions that rating assumes. Ask for them.
Fill volume and headspace: the part the closure controls
A septum does two jobs during a run: it seals, and it allows the pressure inside the vial to equalize when the needle enters and withdraws. If the fill volume is too high, headspace is too small, and the pressure spike on needle entry pushes sample up the needle line or forces liquid past the septum. If the fill is too low, the needle draws air.
The working rule for a 2 mL vial is fill no more than 80 percent of nominal volume and leave at least 200 µL of headspace. A 1.5 mL fill in a 2 mL vial leaves 500 µL of headspace, which is fine. A 1.9 mL fill leaves 100 µL, which is not. At 100 µL headspace, a 22-gauge needle entry can push the internal pressure up by 5 to 10 kPa for a fraction of a second, which is enough to displace the sample in the needle line and cause a 2 to 5 percent RSD penalty on the first few injections after a vial change.
If you are running a method that needs a large fill for a high injection count, switch to a 13 mm or 20 mm format. A 20 mm vial with a 10 mL fill and 2 mL of headspace will run 500 injections without pressure problems. A 9 mm vial with a 1.8 mL fill will not.
Pressure rating of the closure itself
A crimped aluminum seal on a 9 mm vial holds pressure to about 1.5 bar before the septum lifts. A screw cap with a PTFE-faced silicone liner holds to about 2.5 bar. A snap cap holds to about 0.5 bar. If your method runs the vial under positive pressure (headspace GC, some purge-and-trap methods), the closure pressure rating becomes the limiting factor on fill volume, not the puncture count.
For headspace work, the fill volume is usually small (100 to 500 µL) and the injection count is low (1 to 3), so puncture life is not the constraint. But the closure still has to hold pressure for the entire equilibration time, which can be 30 to 60 minutes at 60 to 90 °C. A standard silicone/PTFE septum at 90 °C loses about 20 percent of its compression set resistance, which is why headspace closures are usually a different construction. This is a material choice, so I will leave it at that.
Two field cases where the arithmetic saved a run
Case 1: the 72-hour stability run that ran dry at injection 340
Symptom: A stability lab running a 72-hour, 400-injection campaign on a 2 mL vial with a 9 mm pre-slit silicone septum started getting needle-in-air errors at injection 340. The analyst assumed the pre-slit septum was leaking air into the vial.
Measurement: We weighed the vial before and after the run. The fill was 1.5 mL, but the autosampler was drawing 10 µL with a 120 µL needle hold-up and a 50 µL dead volume. The usable fill was 1.5 mL minus 50 µL dead volume minus 120 µL hold-up = 1.33 mL. At 10 µL per injection plus a 5 µL wash, that is 15 µL per cycle, giving 88 injections per vial, not 400. The lab was changing vials, but the vial change routine had a bug: the new vial was being filled to 1.5 mL but the autosampler was set to a 1.0 mL fill volume in the method, so it was drawing from a vial it thought was smaller than it was. The mismatch caused a premature vial change, and the “needle-in-air” was actually a needle hitting the bottom of a nearly empty vial.
Fix: Updated the method fill volume to match the physical fill, added a 200 µL safety margin, and moved to a 13 mm, 15 × 45 mm vial with a 2.5 mL fill for the remainder of the campaign. The 13 mm format gave 250 injections per vial and eliminated the vial change entirely.
Case 2: the coring peak that appeared at injection 60
Symptom: A method development lab running 150 injections per vial on a 9 mm, 22-gauge needle saw a new peak at 4.2 minutes starting at injection 60. The peak grew with each injection. The lab replaced the column, then the mobile phase, then the needle. The peak persisted.
Measurement: We ran a blank injection with a new vial and a new septum and the peak disappeared. We then ran a puncture test: 100 punctures into a septum, then inspected the septum face under 10× magnification. The puncture holes were elongated, not circular, and there was visible silicone debris around the 40th puncture. The needle was 2 degrees off vertical after a recent autosampler service. At 2 degrees, the effective puncture life dropped from 80 to about 32 punctures, and the coring started at injection 60 because the first 30 punctures were on a fresh septum face.
Fix: Re-aligned the needle to within 0.5 degrees of vertical, switched to a 26-gauge needle, and reduced the injection count per vial to 80. The peak did not return over the next 500 injections.
Decision checklist for sizing a closure to a run
Use this before you place the order. Every line has a number because every line has caused a failed run somewhere.
- Injection count per vial: write it down. If it is over 100 on a 9 mm neck, you need either a larger format or a needle position change.
- Draw volume per injection: include the wash volume. A 10 µL draw with a 5 µL wash is 15 µL per cycle, not 10.
- Needle hold-up: measure it. A 100 µL hold-up on a 50-injection run costs you 5 mL of sample, which is more than the vial holds.
- Dead volume: 40 to 50 µL for a flat-bottom 2 mL vial, 15 to 25 µL for a conical insert. Match the needle depth to the vial interior.
- Headspace: at least 200 µL. If your fill leaves less, move to a larger vial.
- Needle gauge: 22G for standard work, 26G if you need over 100 punctures, 32G only if the sample is clean enough not to clog.
- Temperature: derate puncture life by 30 to 40 percent below 10 °C and by 20 percent above 60 °C.
- Needle verticality: within 0.5 degrees. Check after every service.
- Closure pressure rating: 1.5 bar for crimp, 2.5 bar for screw, 0.5 bar for snap. Match to method pressure.
- Torque: 1.0 to 1.2 N·m for a 9 mm screw cap, 1.5 to 1.8 N·m for a 13 mm. Over-torque deforms the septum and cuts puncture life.
If you are validating a method under EPA SW-846 or a USP <381> protocol, the closure has to hold its dimensions through the entire run, not just at the start. The analytical testing group will usually spot a fill-volume or puncture-life problem in the first system suitability injection if the method is set up to catch it. Ask them to run a blank at injection 1, 50, and the last injection of the run. A coring peak shows up in the blank before it shows up in the sample.
When the arithmetic says you need a different vial, not a different closure
I have seen more labs try to solve a capacity problem with a closure upgrade than any other mistake in this category. If the injection count exceeds what the neck format can deliver, no septum will fix it. A 9 mm neck cannot give you 300 punctures at 22-gauge. A 13 mm neck can. A 20 mm neck can give you 500.
The same logic applies to fill volume. If the method needs 4 mL of sample and 200 injections, a 2 mL vial is the wrong container. A 10 mL, 20 mm vial with a 6 mL fill and 2 mL of headspace is the right one. The closure for that vial is a 20 mm crimp or screw cap with a septum rated for the pressure and temperature of the method, and the puncture life is no longer the limiting factor.
I would rather see a lab move up one vial format than buy a premium septum and still fail at injection 150. The format change costs more per unit and takes more rack space, but it removes the arithmetic from the failure path. If you are running a method that will be repeated for years, the format is the decision that matters. The closure is the part you replace.
For reference on needle and autosampler specifications, the instrument vendor documentation is the only reliable source. Agilent’s chromatography consumables and Thermo Fisher’s sample handling pages list the hold-up volumes and needle geometries for their autosamplers. Restek’s technical resources have puncture-life data for their septa that is worth comparing against your own field numbers.
The decision rule is this: calculate the usable fill from the draw volume, hold-up, and dead volume before you choose a closure. Then calculate the puncture life from the gauge, temperature, angle, and position before you commit to an injection count. If either number falls short, change the vial format. The closure follows the format, not the other way around.
References & further reading
Related resources from our lab consumables network:
- Vial Closures at vialsclosures.com
- Analytical Testing at testinganalytical.com
- Hplc Vial at vialforhplc.com
- Chromatography Consumables at chromatographyconsumables.com
External references and standards: