
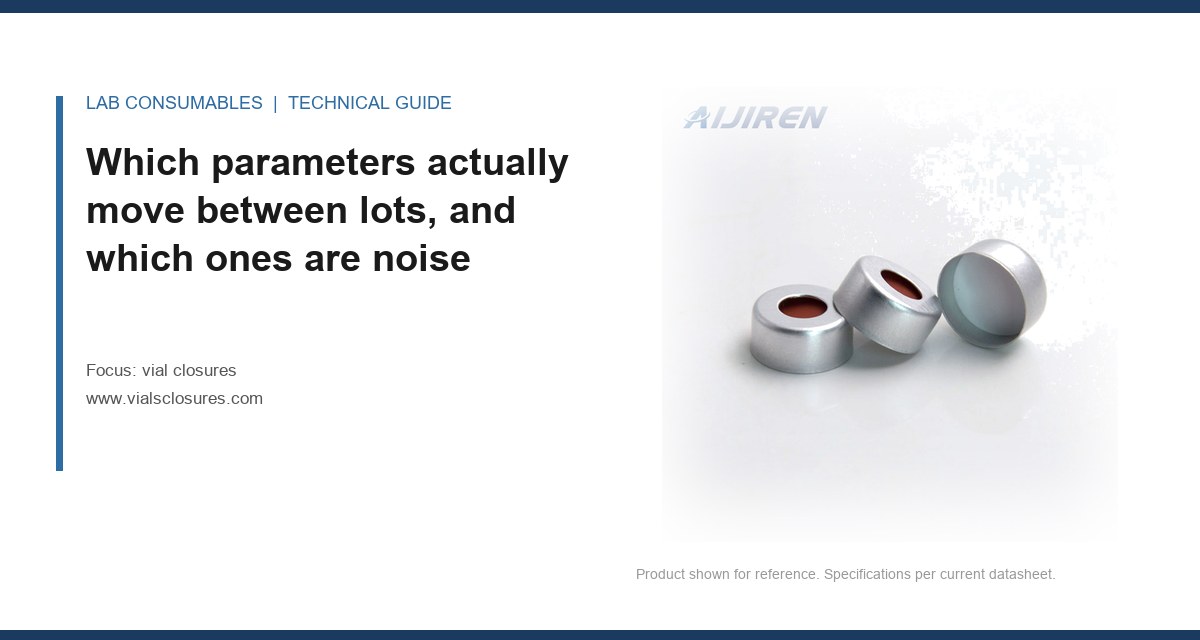
The 20 mL headspace run failed on the eleventh vial, and the autosampler log showed a crimp height of 7.42 mm on the failing vial against a nominal 7.65 mm. Same tool, same operator, same torque setting on the crimper. The only thing that had changed was the lot of aluminum seals. The incoming inspection sheet said “conforms,” because the sheet only listed cap diameter and septum thickness. Nobody had measured crimp skirt height or wall thickness. That is the gap this article is about: lot-to-lot variation in vial closures, the parameters that actually drift, and a cheap incoming test you can run in twenty minutes before a single injection goes on the instrument.
If you buy closures by catalog number and trust the certificate of analysis, you are sampling a moving target. The CoA tells you the lot met a drawing. It does not tell you whether this lot sits at the low end of the skirt-height tolerance and the high end of the septum durometer tolerance, which is exactly the combination that produces a leak at 7 psi of headspace pressure. Incoming inspection for lot-to-lot variation is not a paperwork exercise. It is a dimensional and mechanical screen that catches the drift before it becomes a failed sequence at 2 a.m.
I have run lot release on thousands of closure lots across crimp, screw, and snap formats. The drift is not random. It clusters in a predictable set of parameters, and once you know which ones move, you can build a screen around them. The pattern holds across suppliers, which is what makes it useful: the same four or five parameters account for almost every failed run I have traced back to a closure lot.
Aluminum seal dimensions: skirt height and wall thickness
The crimp seal is a formed aluminum part. The skirt height (the vertical wall that folds under the vial bead) is the parameter that drifts most, because it depends on the deep-draw tooling and the anneal of the aluminum strip. A 0.15 mm shift in skirt height changes how much metal is available to fold under the bead, and that changes the seal’s ability to hold pressure. The second is wall thickness, typically 0.20 to 0.25 mm for a standard 20 mm crimp seal. A lot at 0.20 mm crimps differently from a lot at 0.25 mm at the same crimper setting. If your crimper is set for the thicker lot, the thinner lot under-crimps and leaks; if it is set for the thinner lot, the thicker lot over-crimps and cuts the septum.
There is a third aluminum variable that rarely gets measured: the anneal state of the strip. Fully soft aluminum folds cleanly under the bead at 1.8 to 2.2 N·m of crimp force. Half-hard stock from a different coil needs more force and tends to spring back, so the crimp looks right on the gauge and opens a microchannel two hours later. You cannot measure anneal with a caliper. You catch it with the pressure test, because a spring-back crimp holds at zero pressure and leaks at 10 psi.
Septum durometer and thickness
Septum hardness is specified in Shore A, and for butyl and silicone-lined septa the working range is usually 45 to 55 Shore A. A lot at 45 compresses more under the same crimp force; a lot at 55 compresses less. Thickness drift of 0.05 mm on a nominal 3.0 mm septum is enough to change the compression set and the reseal behavior after puncture. This is the parameter that hides behind a passing CoA, because durometer is often tested on a molded slab, not on the finished septum. A slab at 50 Shore A can yield a finished septum at 54 if the cure profile drifted, and the CoA will still read 50.
Septum puncture count and reseal
Reseal after puncture is where lot variation becomes a data integrity problem. A septum that reseals to 3 punctures on one lot and 12 on the next is not the same product, even if both are “conforming.” The variable is the compound cure and the slit or pre-slit geometry. I have seen a lot of pre-slit silicone septa where the slit length drifted from 4 mm to 6 mm, and the wider slit leaked on the first injection at 10 psi. The failure is not always a visible leak, either. A slit that closes slowly pulls a small volume of headspace gas into the vial between injections, and the next injection reads high on the light components. That looks like a column problem until you check the closure lot.
Liner and coating weight
For PTFE-faced and foil-lined septa, the facing thickness and the adhesive coat weight drift between lots more than most people expect. A PTFE facing at 0.10 mm versus 0.13 mm changes the puncture force and the reseal. The adhesive coat weight changes the extractables profile, which shows up as a rising baseline or a new peak at the front of the chromatogram. If your blank injection suddenly has a peak at 2.1 minutes that was not there last month, pull the closure lot before you pull the column.
What is usually noise
Cap color, printing, and the cosmetic finish of the aluminum are noise for analytical performance. So is the exact shade of the PTFE facing. Do not spend incoming inspection time on them. The parameters that matter are the ones that change the compression, the seal path, or the puncture geometry.
| Parameter | Typical nominal | Drift that matters | Failure mode if it drifts |
|---|---|---|---|
| Skirt height (20 mm crimp) | 7.6 mm | > 0.10 mm | Under-crimp, leak at pressure |
| Wall thickness | 0.23 mm | ± 0.03 mm | Over-crimp cuts septum |
| Septum durometer | 50 Shore A | ± 5 Shore A | Compression set, reseal loss |
| Septum thickness | 3.0 mm | > 0.05 mm | Crimp height off, seal gap |
| Pre-slit length | 4 mm | > 1 mm | Leak on first puncture |
| Bead-to-cap fit | GPI 20 mm | Thread engagement loss | Loosening under transport |
The dimensional interface is a system, and closures only work when the vial bead, the septum, and the seal are all within the same window. That is the point of the vial closures range we work with: the drawing has to hold across all three, not just the part you can see.
The cheap incoming test: a 20-piece dimensional and pressure screen
You do not need a metrology lab to catch lot drift. You need a caliper with 0.01 mm resolution, a small torque or force gauge, a 20-position pressure manifold, and a written pass/fail. The whole screen runs in about twenty minutes on a 20-piece sample, and it catches the drift that the CoA misses. I have set this up on a bench with a $180 digital caliper and a $400 pressure block. The instrument time saved in the first month paid for both.
Step 1: dimensional screen on 20 pieces
Measure skirt height, wall thickness, and septum thickness on 20 randomly pulled pieces from the lot. Record the mean and the range. The range is the tell. A tight lot has a skirt-height range under 0.05 mm; a drifting lot shows a range of 0.12 mm or more, and the mean has moved. If the mean has moved by more than the tolerance in the table above, stop and quarantine the lot before it reaches the line. Pull the 20 pieces from at least three positions in the carton, not all from the top layer, because the top layer is often the first-off pieces and the drift is usually in the middle of the run.
Step 2: crimp-and-pressure test on 10 assembled vials
Crimp 10 vials with the production crimper at the production setting, fill each with 5 mL of water, and pressurize the headspace to 10 psi for 30 seconds. Any vial that shows a bubble at the seal or a pressure drop over 5 psi fails. This is the test that catches the skirt-height and wall-thickness drift that the caliper screen flagged. A lot that passes dimension but fails pressure has a septum or crimp interaction problem. Run the 10 vials with the same crimper and the same vial lot as the production run, or you are testing the wrong interface.
Step 3: puncture and reseal on 5 vials
Puncture each of 5 vials 10 times with the production needle gauge at the production injection angle, then pressurize to 10 psi and check for leak. A septum that leaks before puncture 10 has a reseal problem, and that is a lot-level defect, not an operator error. This is the screen that catches the pre-slit geometry drift. Use a fresh needle for the test; a dull needle cores the septum and gives you a false failure that sends you chasing the wrong parameter.
- Pass: dimensional range under 0.05 mm, mean within tolerance, zero pressure failures, zero reseal failures at 10 punctures.
- Conditional: dimensional range 0.05 to 0.10 mm, zero pressure failures. Run a 50-piece confirmation before release.
- Fail: any pressure failure, any reseal failure, or a mean outside tolerance. Quarantine and request lot data.
The pressure manifold is the cheap part. A 20-position acrylic block with a gauge and a hand pump costs less than a single failed sequence on an HPLC vial run. If you want to go further, the analytical testing side of our network runs the same screen under ISO 17025 if you need a third-party record. The screen is also reproducible enough that two operators on two shifts get the same pass/fail on the same lot, which is the minimum for a release test.
Two field cases where lot drift showed up before the run, and one where it did not
Case 1: the 7.42 mm crimp that was not a crimper problem
Symptom: headspace runs failing intermittently, about 1 vial in 15, with a low-pressure leak at the crimp. The operator had re-set the crimper twice.
Measurement: We pulled 20 seals from the suspect lot and measured skirt height. Mean was 7.48 mm against a nominal 7.65 mm, with a range of 0.14 mm. The previous lot measured 7.63 mm with a 0.04 mm range. The crimper was fine; the seal was short, so the same crimper setting produced an under-crimp on the short pieces.
Fix: Quarantined the lot, moved to a lot with skirt height at 7.62 to 7.66 mm, and added skirt height to the incoming screen. The crimper setting did not change.
Case 2: the pre-slit septum that leaked on puncture one
Symptom: a method transfer to a new lot of pre-slit silicone septa produced a leak on the first injection for about 1 vial in 8, at 8 psi headspace.
Measurement: Slit length on 20 septa measured 5.8 to 6.2 mm against a nominal 4.0 mm. The slit had drifted wide on the new lot, and the wider slit did not close after the needle withdrew.
Fix: Rejected the lot on slit length, added slit length to the screen, and specified a slit length of 3.8 to 4.2 mm on the purchase drawing. The reseal test at 10 punctures now runs on every incoming lot.
Case 3: the lot that passed the screen and still drifted
Symptom: a screw-thread closure lot passed the dimensional screen but produced cap loosening after transport, about 2% of vials.
Measurement: The bead-to-cap fit was within the GPI 20 mm thread spec, but the cap torque retention after 24 hours at 40 °C had dropped from 1.2 N·m to 0.7 N·m. The liner compound had drifted in compression set, not in dimension.
Fix: Added a 24-hour torque-retention check at 40 °C to the screen for screw closures. That is a 24-hour test, not a 20-minute one, so it runs on a hold lot while the dimensional screen releases the lot for immediate use.
These three cases share a pattern: the drift was in a parameter that the drawing tolerated but the process did not. The screen catches it when the screen measures the right parameter. In the third case the screen was incomplete, not wrong, and the fix was to add a parameter rather than tighten a tolerance.
Setting the incoming screen so it catches drift without stopping the line
The failure mode of incoming inspection is over-testing. If you measure everything, you measure nothing well, and the line waits. The screen has to be fast enough to run on every lot and specific enough to catch the drift that matters.
Sample size and frequency
Twenty pieces per lot for the dimensional screen, ten assembled vials for pressure, five for reseal. That is enough to see a mean shift of 0.05 mm with reasonable confidence, and it is small enough to run in twenty minutes. For lots over 40,000 pieces, bump the dimensional sample to 32 pieces. The EPA SW-846 data quality framework is a useful reference for setting the sample size against the decision you are making, even though it is written for environmental methods. The logic is the same: the sample has to be large enough to support the decision you are about to make, and no larger.
Where to put the screen in the flow
Run the dimensional and pressure screen at goods receipt, before the lot goes to the line. Run the reseal screen on the first assembled vials of the run. Run the torque-retention screen on screw closures as a hold-lot test. The point is to catch the drift before the run starts, not after the sequence fails. If you cannot screen at receipt, screen at kitting, but do not let a new lot reach the autosampler without a pressure test on 10 assembled vials.
What to record
Record the mean, the range, and the pass/fail for each parameter, plus the lot number and the supplier’s lot. Keep the record for at least 24 months. When a run fails six months later, the record is how you prove whether the closure drifted or the method did. This is the same logic as the traceability chain: the data has to point back to a specific lot. A screen with no written record is a habit, not a release test.
If you are running GC or LC methods, the instrument side has its own lot-to-lot variation to manage. The Agilent chromatography consumables and Thermo Fisher sample handling documentation both describe column and consumable lot screening, and the Restek technical resources have worked examples of lot-to-lot comparison for septa and liners. The closure screen follows the same principle: measure the parameter that changes the result, not the parameter that is easy to measure. If you buy through a chromatography consumables distributor, ask whether they hold lot data on the closure lines you buy, because the distributor is often the only party with visibility across suppliers.
The decision rule for a drifting lot
When the screen flags a lot, you have three options, and the choice depends on which parameter moved. If the drift is in skirt height or wall thickness and the pressure test passes, you can often run the lot with a crimper adjustment, but you must re-verify the crimp height on the first 10 vials and record the new setting. If the drift is in septum durometer or thickness and the pressure test fails, reject the lot; there is no crimper setting that fixes a soft septum. If the drift is in pre-slit geometry or reseal, reject the lot; a septum that leaks at puncture 3 cannot be recovered by assembly adjustment. The rule is simple: dimensional drift with a passing pressure test is adjustable, mechanical drift with a failing pressure test is a reject. Quarantine first, measure second, decide third. The twenty-minute screen is what makes that decision possible before the run, not after it.
References & further reading
Related resources from our lab consumables network:
- Vial Closures at vialsclosures.com
- Analytical Testing at testinganalytical.com
- Hplc Vial at vialforhplc.com
- Chromatography Consumables at chromatographyconsumables.com
External references and standards: