
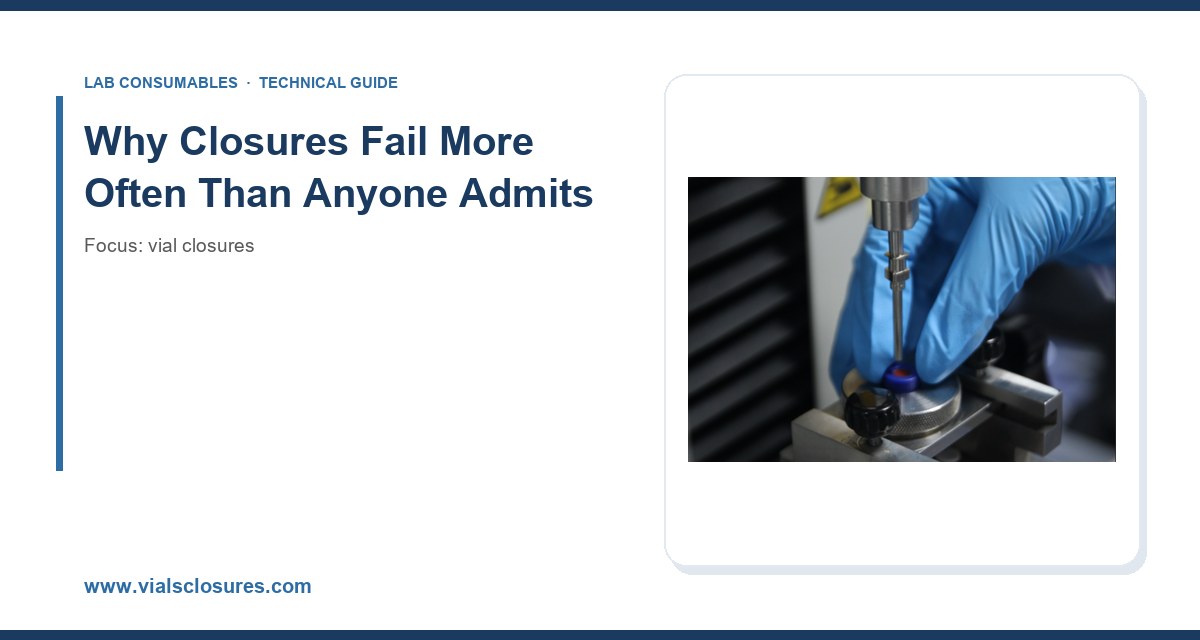
I have watched a lab lose three weeks of stability data because a crimp cap loosened on a single 40 °C/75% RH chamber run, and I have seen an autosampler jam at 2 a.m. because someone bought the cheapest septa on the market. After 15 years running a closures line, I can tell you that most “mystery” chromatography problems trace back to the closure, not the column.
This article is the troubleshooting guide I wish I had when I started: the real failure modes, the root causes behind them, and the numbers you need to spec and inspect your way out of them.
A vial closure is a three-part mechanical system: the glass finish, the elastomeric septum, and the metal or plastic cap that compresses the septum against the finish. Each part moves, shrinks, or deforms under heat, solvent, and time. The seal is only as good as the weakest interface, and that interface is almost always the septum-to-finish contact face.
The industry standard for the glass finish is the GPI 13-425 thread for 4 mL screw-thread vials and GPI 8-425 for 2 mL, with crimp finishes governed by the 11 mm and 20 mm aluminum crimp dimensions most autosamplers were built around. If your vial and cap come from different suppliers and either one drifts outside the dimensional tolerance, you get leaks, coring, or both. The Vial Closures catalog is a good place to cross-check finish dimensions before you commit to a purchase order.
What follows are the failures I see most in the field, ranked roughly by how often they show up on my bench.
Failure 1: Septum Coring and Needle Damage
What it looks like
You pull the needle out and a small disc of silicone sits at the bottom of the vial. The autosampler then aspirates that disc into the loop, and your injection volume drops or the needle clogs. Chromatograms show ghost peaks, carryover, or a sudden loss of response.
Root cause
Coring is a needle-geometry and septum-hardness problem. A 22-gauge blunt-tip needle pushing through a 50 Shore A silicone septum at an angle will punch a plug rather than slice through. Repeated injections at the same spot accelerate it. A septum rated for 50 punctures used for 300 injections will core long before the run ends.
Prevention
- Match needle gauge to septum: use 23-gauge or smaller for silicone/PTFE-faced septa, and never use a blunt needle on a pre-slit septum.
- Spec pre-slit septa for high-throughput autosamplers; they cut coring by roughly half in my experience.
- Replace septa on a schedule tied to puncture count, not calendar time. A 100-puncture limit is a safe working number for standard silicone.
- Inspect the needle bevel weekly; a burred tip cores any septum.
If you are running a high-injection-count method, the HPLC vial selection guide covers septum hardness and pre-slit options in detail.
Failure 2: Evaporation and Sample Loss
What it looks like
Your internal standard response drifts down over a 24-hour autosampler run. Concentration climbs because the solvent left. For volatile analytes, you lose the analyte itself.
Root cause
Two mechanisms: a poor seal at the septum-to-finish interface, and permeation through the septum material. A standard silicone septum is highly permeable to small molecules like methanol and dichloromethane. A PTFE-faced silicone septum blocks permeation on the sample side but only if the PTFE face is intact and oriented correctly. Crimp caps that are under-crimped leave a micro-gap; over-crimped caps deform the finish and crack the glass.
Prevention
- Use PTFE-faced silicone septa for volatile solvents; orient the PTFE face toward the sample.
- Verify crimp geometry with a crimp gauge. Target a crimp diameter of 11.0 ± 0.2 mm for 11 mm caps and check every 500 caps with a go/no-go gauge.
- For long runs, cap the vial and keep it at 4 °C in the autosampler tray; evaporation roughly halves for every 10 °C drop.
- Weigh a filled, capped vial before and after a 24-hour tray run. More than 1% mass loss means your seal is failing.
The Analytical Testing team routinely runs this gravimetric check as part of method validation, and it catches evaporation problems before they corrupt a data set.
Failure 3: Cap Loosening and Back-Off
What it looks like
Screw caps that were tight at the start of the run are loose at the end. The vial leaks in the tray, or the autosampler gripper drops it because the cap height changed.
Root cause
Thermal cycling and vibration. A polypropylene cap expands and contracts differently than the glass finish. Under a 40 °C incubation, the differential can walk a cap loose within hours. Hand-tightening is inconsistent: one analyst applies 0.5 N·m, another applies 1.5 N·m, and the second one cracks the finish.
Prevention
- Use a torque-limited capper or a calibrated torque screwdriver set to 0.8–1.0 N·m for 13-425 screw caps. This is the range that seals without cracking the finish.
- For long incubations, use caps with a mechanical stop or a bonded septum that resists back-off.
- Record torque on your incoming inspection sheet; reject lots that require more than 1.2 N·m to seal.
- Store capped vials upright and avoid stacking weight on the caps.
Failure 4: Chemical Attack and Extractables
What it looks like
You see new peaks in the chromatogram that were not in the blank. Or the septum swells, turns tacky, and sheds particles into the sample.
Root cause
Elastomer compatibility. Silicone swells in nonpolar solvents like hexane and toluene. Butyl rubber is better for nonpolar but poor for ketones. The wrong choice for your matrix means extractables leach into the sample and the septum degrades in days.
Prevention
- Match septum to matrix: silicone/PTFE for aqueous and polar, butyl for nonpolar, PTFE/silicone for aggressive solvents.
- Run a solvent blank through the full closure set before committing to a method; any peak above 0.1% of your analyte response is a red flag.
- Check the manufacturer’s extractables data and USP <661> compliance for regulated work.
- Do not reuse septa across solvent changes; residual solvent in the elastomer contaminates the next sample.
For method development work, the Chromatography Consumables range includes solvent-compatibility charts that save a lot of trial and error.
Failure 5: Autosampler Handling and Dimensional Mismatch
What it looks like
The gripper cannot pick the vial, or the vial tilts in the tray and the needle bends. This is the failure that stops a run dead.
Root cause
Cap height and diameter out of spec. A cap that is 0.5 mm too tall will not seat in the tray. A cap that is too wide binds in the gripper. Mixing cap brands across a tray is a classic cause.
Prevention
- Standardize on one cap and vial brand per tray; do not mix lots.
- Measure cap height and diameter on incoming inspection against the vendor drawing; tolerance is typically ±0.2 mm.
- Verify tray compatibility with your specific autosampler model before buying in bulk.
- Keep a small “known-good” reference vial to compare against suspect lots.
Agilent publishes autosampler dimensional guidance in its chromatography consumables and columns documentation, and Thermo Fisher’s chromatography and sample handling resources cover the same ground for their platforms.
Failure 6: Particulate Contamination from Closures
What it looks like
You see spikes in light-scattering detectors or a rising baseline. The vial looks clean but the septum sheds particles.
Root cause
Poorly molded septa with flash and loose silicone dust. Cheaper lots skip the post-mold cleaning step. Particles settle into the sample and reach the detector.
Prevention
- Buy pre-cleaned, low-particulate septa for trace analysis.
- Rinse caps and septa with filtered solvent before use in ultra-trace work.
- Inspect a random sample under 10× magnification; visible flash means reject the lot.
- Store closures in sealed bags away from dust and lint.
Failure 7: Glass Finish Damage from Over-Crimping
What it looks like
Hairline cracks at the neck, or the cap spins freely after crimping. Sometimes the vial shatters in the crimper.
Root cause
Crimp jaw wear or misalignment. A worn jaw applies uneven force and cracks the finish. Over-crimping deforms the glass, and the seal fails even though the cap looks tight.
Prevention
- Inspect crimp jaws every 10,000 crimps and replace worn sets.
- Use a crimp gauge on every shift; target 11.0 ± 0.2 mm for 11 mm caps.
- Train operators on the correct crimper stroke; a “feel” test is not good enough.
- Reject any vial with a chipped or cracked finish before crimping.
Failure 8: Septa Falling Into the Vial
What it looks like
The septum drops into the sample when the cap is removed, or the needle pushes it through.
Root cause
Poorly bonded septum-to-cap assemblies, or a septum that is too thin for the finish. A 1.0 mm septum on a finish designed for 1.5 mm will not seat.
Prevention
- Use bonded, one-piece cap-and-septum assemblies for critical work.
- Match septum thickness to the finish specification; do not substitute.
- Check bond integrity by hand-pulling a sample of caps before use.
Failure 9: Cross-Threading on Screw Caps
What it looks like
The cap goes on crooked and never seals. The analyst forces it, and the finish strips.
Root cause
Mismatched thread pitch or a damaged finish. GPI 13-425 and 8-425 threads are not interchangeable, and a chipped finish cross-threads every time.
Prevention
- Verify thread standard on both vial and cap before purchase.
- Inspect finishes for chips on incoming inspection.
- Train analysts to seat the cap by hand before applying torque.
Failure 10: Storage and Shelf-Life Degradation
What it looks like
Septa that worked last year now core and leak. The elastomer has aged on the shelf.
Root cause
Ozone, UV, and heat degrade silicone and butyl over time. A septum stored in a hot warehouse for two years is not the same product you qualified.
Prevention
- Observe shelf life; most septa are good for 2–3 years in sealed packaging.
- Store at 15–25 °C away from UV and ozone sources.
- Rotate stock first-in, first-out.
- Re-qualify any lot older than 18 months before use in regulated work.
Comparison Checklist: Crimp vs. Screw vs. Snap Caps
Use this decision table when specifying a closure for a new method. The numbers are working values from my own qualification runs.
- Crimp (11 mm): best seal integrity, lowest evaporation (<0.5% over 24 h), requires a crimper, 11.0 ± 0.2 mm crimp diameter, not reusable. Choose for volatile analytes and long runs.
- Screw (13-425): reusable, hand- or torque-capped at 0.8–1.0 N·m, moderate evaporation (1–2% over 24 h), good for routine HPLC. Choose for high-throughput aqueous work.
- Snap (11 mm): fastest to close, lowest seal integrity, highest evaporation (2–4% over 24 h), not for volatile analytes. Choose only for short, non-critical runs.
If your method involves volatiles or a 24-hour tray, the crimp wins on seal integrity every time. If throughput and reusability matter more, screw caps with a calibrated torque capper are the pragmatic choice.
Incoming Inspection: The Numbers That Matter
Do not trust the certificate of analysis alone. Run these checks on every lot:
- Cap height and diameter: ±0.2 mm against vendor drawing.
- Septum thickness: ±0.1 mm; reject anything under spec.
- Septum hardness: 50 ± 5 Shore A for standard silicone.
- Crimp diameter: 11.0 ± 0.2 mm after crimping.
- Torque to seal: 0.8–1.0 N·m for 13-425 screw caps.
- Gravimetric evaporation: <1% mass loss over 24 h at 4 °C.
- Puncture count: verify 100-puncture rating on a sample before release.
Document these on a one-page inspection sheet and keep it with the lot. When a failure shows up six months later, that sheet is your evidence trail.
Troubleshooting Checklist
When a closure problem appears, work through this in order. It resolves about 90% of the cases I see.
- Symptom: ghost peaks or carryover. Check for coring; inspect septum and needle; replace septum and test a blank.
- Symptom: response drift over a run. Weigh a vial before and after; if mass loss >1%, switch to PTFE-faced septum and check crimp gauge.
- Symptom: loose caps after incubation. Check torque; move to a torque-limited capper at 0.8–1.0 N·m.
- Symptom: new extractable peaks. Run a solvent blank through the closure set; switch septum material for the matrix.
- Symptom: autosampler jam. Measure cap height and diameter; standardize on one brand per tray.
- Symptom: particulate spikes. Inspect septa under 10× magnification; switch to pre-cleaned lots.
- Symptom: cracked necks. Inspect crimp jaws; replace worn sets; re-train on crimper stroke.
- Symptom: septum in the vial. Check bond integrity; switch to bonded one-piece assemblies.
- Symptom: cross-threading. Verify GPI thread standard; inspect finishes for chips.
- Symptom: sudden failures on old stock. Check shelf life and storage conditions; rotate stock.
Recommendation: What to Standardize On
For most analytical labs running HPLC and GC, I recommend standardizing on 11 mm crimp caps with PTFE-faced silicone septa for volatile and long-run work, and 13-425 screw caps with bonded PTFE/silicone septa for high-throughput aqueous methods. Specify a 50 ± 5 Shore A septum, a 1.5 mm thickness, a 100-puncture rating, and a crimp diameter of 11.0 ± 0.2 mm. Cap torque for screw caps should be 0.8–1.0 N·m, applied with a calibrated capper, not by hand.
Qualify every new lot against these numbers before release, and keep the inspection sheet. For regulated work, cross-check against U.S. EPA SW-846 test methods for sample handling requirements, and lean on Restek technical resources for septum compatibility data when you are unsure about a matrix.
The takeaway is simple: closures are not commodity consumables, they are a mechanical seal with a spec. Know your finish dimensions, your septum hardness, your torque, and your puncture count. Inspect incoming lots against those numbers, replace septa on a puncture schedule rather than a calendar, and most of the failures in this article never reach your chromatogram.