
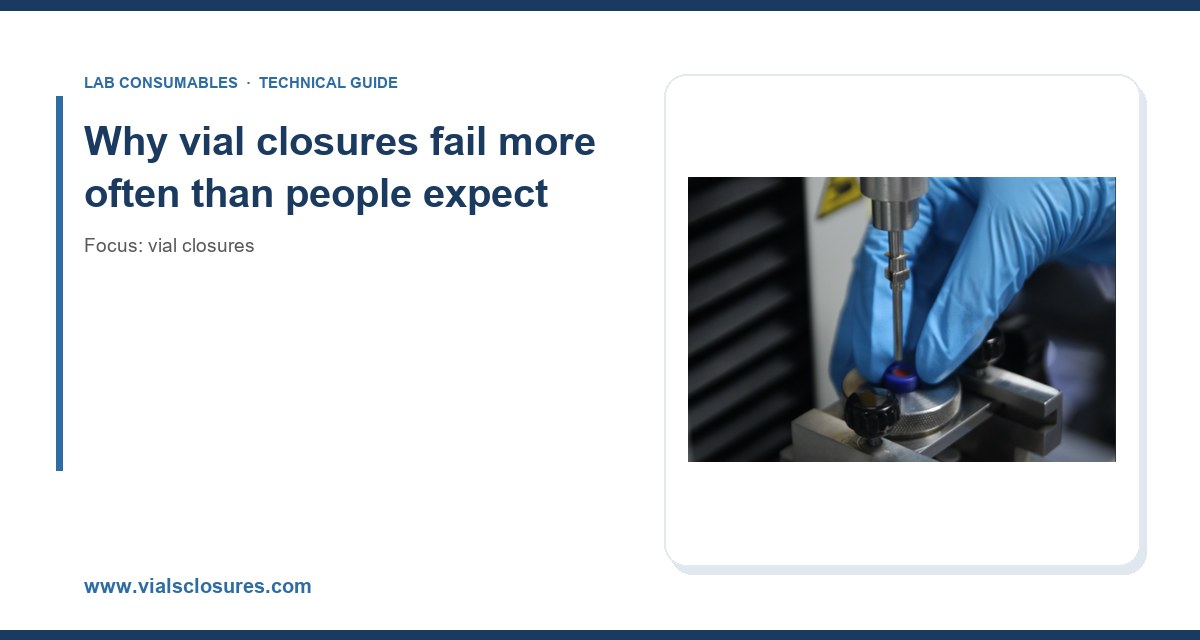
I have spent more mornings than I care to admit chasing a mysterious extra peak in a chromatogram, only to find that the culprit was a vial cap that had been crimped just slightly off-center. Vial closures look like the simplest thing on the bench: a bit of aluminum, a rubber disc, a plastic screw cap. In daily use they are also the most common source of contamination, sample loss, and autosampler crashes. Over the years I have catalogued the failures I see most often, and this article walks through the root causes and the fixes that actually work.
A closure is a mechanical seal with a chemical barrier layered on top. It has to hold pressure, resist solvent attack, stay inert, and survive a robotic gripper. When any one of those jobs breaks down, the failure shows up somewhere else: a short injection, a phantom peak, a bent needle. Because the closure is cheap relative to the instrument, it gets blamed last. That is a mistake. In most labs I have audited, closure defects account for a meaningful share of repeat injections and out-of-spec results, and almost all of them are preventable with correct selection and handling.
The three functional layers of a standard crimp or screw closure are the septum (the chemical barrier and puncture point), the cap or seal (the mechanical clamp), and the vial finish (the glass geometry that the cap engages). Each has its own failure modes. The trick is to know which layer is failing before you start swapping parts.
Septum coring and fragmentation
What it looks like
You see small rubber fragments in the vial, or a peak that appears only on the tenth injection from the same vial. Sometimes a fragment lodges in the needle and the autosampler throws an error. Coring is the single most common closure failure I deal with.
Root causes
- Needle gauge versus septum hardness. A 22-gauge needle (about 0.72 mm OD) punching a thin 40 Shore A silicone septum at high speed will tear material. The softer the septum, the more prone to coring.
- Blunt or burred needles. A needle that has been used past its service life develops a cutting edge that scoops rather than pierces.
- Excessive puncture count. Most septa are rated for a limited number of injections. A standard silicone/PTFE septum is good for roughly 10 to 50 punctures before the puncture channel leaks or sheds particles. High-density PTFE-faced septa can push higher, but nothing is infinite.
- Off-axis needle entry. If the autosampler needle is not centered over the vial, it enters at an angle and slices the septum edge.
Prevention
Match the septum to the needle and the injection count. For high-throughput methods, use a pre-slit septum or a septum rated for the number of injections you actually run per vial. Replace needles on a schedule, not when they fail. Verify autosampler alignment with a calibration vial and check it after any tray change. If you are running a method with more than 50 injections per vial, a fresh vial and closure is cheaper than the rework.
Evaporation and sample loss
What it looks like
Peak areas drift down over a long sequence. Concentrations creep up because the solvent left and the analyte stayed. For volatile analytes, the loss can be substantial within hours.
Root causes
- Poor cap-to-vial fit. A screw cap that is not fully torqued, or a crimp that is not tight, leaves a leak path. Even a small gap allows solvent vapor to escape.
- Septum permeability. Silicone is highly permeable to many solvents and gases. A silicone septum alone is a poor barrier for volatile analytes over long runs.
- Temperature. Autosampler trays held at 4 to 10 °C slow evaporation but do not stop it. Trays at ambient in a warm room lose solvent faster.
- Incorrect crimp height. An under-crimped aluminum seal does not compress the septum against the vial lip.
Prevention
Use a septum with a PTFE or ETFE barrier face toward the sample. That face is the vapor barrier; the silicone provides the reseal. For long sequences, cap the vials properly and use a cooled tray. For crimp vials, verify crimp dimensions with a crimp gauge. A correct crimp on a standard 11 mm finish pulls the seal down so the septum is compressed evenly, typically to a crimp height in the 5.5 to 6.0 mm range depending on the seal style. Under-crimping is the leak; over-crimping crushes the septum and causes coring instead.
Crimp seal failures
What it looks like
The aluminum seal rotates freely on the vial, or the vial leaks when inverted, or the septum is visibly deformed or torn at the edge.
Root causes
- Wrong crimper jaw setting. Manual crimpers drift. The jaws wear and the crimp gets loose over time.
- Mismatched seal and vial finish. An 11 mm seal on an 11 mm vial sounds obvious, but I have seen 20 mm seals forced onto 11 mm vials, and I have seen “universal” seals that fit nothing well.
- Vial finish defects. Chipped or out-of-tolerance vial lips (the GPI 11 mm finish has defined dimensions) prevent a uniform seal.
- Over-crimping. Too much jaw force deforms the seal and pinches the septum, which then cores or leaks at the puncture.
Prevention
Use a crimper with a repeatable setting and check it against a go/no-go gauge at the start of each shift. Buy seals and vials from the same dimensional standard, and do not mix finishes. For high-volume work, an automated crimper with a force setting beats a manual tool every time. I keep a crimp gauge on the bench and check one in twenty vials during a long run. It takes ten seconds and catches the drift before it ruins a sequence.
Screw cap and thread failures
What it looks like
The cap cross-threads, the cap backs off during the run, or the cap will not seal no matter how hard you turn it.
Root causes
- Cross-threading. Starting the cap at an angle damages the thread on both cap and vial. Plastic caps are more forgiving than glass threads, but not immune.
- Under-torque. A screw cap that is hand-tight but not torqued can loosen under vibration in the autosampler tray.
- Over-torque. Cranking a cap down deforms the septum and can crack the vial neck, especially on thin-wall vials.
- Thread mismatch. A 9 mm short-thread cap on a 9 mm short-thread vial is correct; mixing short-thread and long-thread components is not.
Prevention
Start caps by hand for a turn before torquing, or use a capping tool that centers the cap. For consistent sealing, target a torque that compresses the septum without deforming it. In practice, a screw cap on a 9 mm vial seals reliably in the 0.5 to 1.0 N·m range; going past that gains nothing and risks the neck. If you cap hundreds of vials a day, a torque-limited capping station pays for itself in fewer leaks and fewer cracked vials. The vial closures you buy should match the vial finish exactly, so check the dimensional standard before you order a mixed lot.
Chemical incompatibility and extractables
What it looks like
New peaks appear in blanks. The baseline drifts. A method that worked for aqueous samples fails for a solvent-heavy matrix.
Root causes
- Silicone swelling. Silicone septa swell in nonpolar solvents such as toluene, hexane, and dichloromethane. A swollen septum can push into the vial headspace or shed material.
- Plasticizer and oligomer extractables. Low-grade rubber and plastic caps can leach into the sample, especially with acidic or basic matrices.
- Wrong barrier face. A silicone-only septum offers poor chemical resistance. A PTFE-faced septum gives a chemically inert sample contact surface.
Prevention
Choose the septum by matrix. For aqueous and polar samples, a silicone/PTFE septum is fine. For aggressive solvents, use a PTFE-faced or high-density PTFE septum and confirm with a blank injection. Run a closure blank: fill a vial with your solvent, cap it with the candidate closure, and inject after the same hold time as your method. If you see peaks, the closure is the source. This is basic analytical testing discipline, and it should be part of method validation, not an afterthought.
Autosampler handling failures
What it looks like
The gripper drops vials, the needle bends, or the tray jams mid-sequence.
Root causes
- Cap height out of spec. A tall cap or an over-crimped seal changes the vial’s overall height and the gripper misses it.
- Loose caps. A cap that is not seated sits proud of the vial and catches in the tray.
- Wrong vial dimensions for the tray. A 12 x 32 mm vial in a tray set for a different format will not seat.
Prevention
Standardize on one vial and closure format per method and verify the overall capped height against the autosampler specification. Keep a reference vial on the bench and check new lots against it. When you change closure suppliers, run a tray test before the method goes live. The HPLC vial format and the closure have to be a matched pair; treat them as one part number, not two.
Particulate contamination from closures
What it looks like
Spikes in light-scattering detectors, blocked needles, or visible particles in the vial.
Root causes
- Shedding septa. Low-quality silicone sheds particles when punctured.
- Dust on caps. Caps stored open in a drawer collect dust that falls into the vial.
- Improper handling. Touching the septum face with a gloved finger transfers particles and oils.
Prevention
Buy closures that are manufactured and packed for low-particle release, and keep them in the original packaging until use. Do not touch the sample-contact face. For trace analysis, use pre-cleaned or certified closures and verify with a particle count or a blank injection. If you handle chromatography consumables in volume, store closures in a clean, closed container away from the bench where you do sample prep.
Temperature and pressure limits
What it looks like
The septum deforms, the seal loosens, or the vial leaks during a heated run or a pressurized injection.
Root causes
- Exceeding the septum temperature rating. Standard silicone is good to about 200 °C; some specialty septa go higher, but the cap and seal may not.
- Pressure buildup. Heating a sealed vial raises internal pressure. A weak crimp or a soft septum will vent or leak.
- Thermal cycling. Repeated heat and cool cycles fatigue the septum and the seal.
Prevention
Check the rated temperature of the whole closure, not just the septum. For headspace and heated methods, use closures rated for the method temperature and confirm the crimp or torque holds at temperature. For methods that follow regulated protocols, the U.S. EPA SW-846 test methods give useful guidance on sample handling and holding conditions that affect closure choice. When in doubt, run a leak test at temperature before committing a sequence.
Selection checklist with concrete numbers
Use this table when you are choosing a closure for a new method. The numbers are starting points; confirm against your instrument and method.
- Vial finish: match the cap exactly. 11 mm crimp, 20 mm crimp, 9 mm short-thread, and 13-425 are common. Never mix finishes.
- Vial format: 12 x 32 mm is the standard autosampler format; confirm tray compatibility.
- Septum material: silicone/PTFE for aqueous and polar; PTFE-faced or high-density PTFE for aggressive solvents.
- Septum hardness: around 40 to 50 Shore A for standard autosampler use; harder for high puncture counts.
- Puncture rating: plan for 10 to 50 injections per septum for standard silicone; replace the vial when you hit the limit.
- Crimp height: target 5.5 to 6.0 mm for a standard 11 mm aluminum seal, verified with a gauge.
- Screw torque: 0.5 to 1.0 N·m for a 9 mm screw cap; do not exceed.
- Temperature: confirm the closure rating covers your method; standard silicone tops out near 200 °C.
- Cleanliness: certified low-particle closures for trace and LC-MS work.
Troubleshooting checklist
When a closure problem shows up, work through this in order. It saves time versus guessing.
- Is the peak new or is the area drifting? New peak points to extractables or coring; area drift points to evaporation or a leak.
- Does the problem follow the vial or the position? If it follows the position, check autosampler alignment and the tray. If it follows the vial, check the closure.
- Run a closure blank. Solvent plus candidate closure, held for the method duration, then injected. Peaks mean the closure is the source.
- Check the crimp or torque. Gauge a sample of vials. Loose or over-tight closures are the usual suspects.
- Inspect the septum. Look for a puncture channel, tearing, or fragments. Count injections per vial against the rating.
- Confirm the needle. Check gauge and condition. A burred needle cores septa.
- Verify the finish match. Cap and vial must be the same standard.
- Check temperature and pressure. Confirm the closure is rated for the method.
Recommendation
Standardize your closures by method, not by what is in the drawer. Pick one finish per method, one septum material matched to the matrix, and one crimp or torque setting, then document all three in the method. Buy from a supplier who publishes the dimensional standard and the septum rating. For most HPLC work, a 12 x 32 mm vial with a 9 mm screw cap and a silicone/PTFE septum torqued to 0.5 to 1.0 N·m is a reliable default; for crimp methods, an 11 mm aluminum seal at 5.5 to 6.0 mm crimp height with a PTFE-faced septum covers most aqueous and polar matrices. Keep a crimp gauge and a torque tool on the bench, replace needles on a schedule, and run a closure blank whenever a method changes. For reference data on columns and sample handling that affect closure choice, the technical resources from Agilent, Thermo Fisher, and Restek are worth bookmarking.
Most closure failures are not mysteries. They are dimensional mismatches, over- or under-tightened seals, septa used past their puncture rating, or the wrong material for the solvent. Fix those four things and the phantom peaks and short injections mostly disappear. The closure is a small part of the cost per sample, but it sits between your sample and your data, and that is a bad place to cut corners.
References & further reading
Related resources from our lab consumables network:
- Vial Closures at vialsclosures.com
- Analytical Testing at testinganalytical.com
- Hplc Vial at vialforhplc.com
- Chromatography Consumables at chromatographyconsumables.com
External references and standards: